For some time now I have been trying my hand at macros of small insects. At the moment I’m using a Sigma MACRO 105mm F2.8 DG with Kenko extension rings, mostly with a 20mm ring, on my Canon EOS R. I’m still quite a beginner, but a few insights are emerging.

There is Too Little Light!
The theoretical consideration that the depth of field will not be sufficient even for a fly if I open the aperture to use as much light as possible is immediately confirmed in practice. The aperture must be closed as far as possible. And here we come to the second theory that is confirmed: even if the lens allows aperture 22, it’s no use. From f/16 on, the image becomes visibly blurrier due to diffraction at the aperture, f/14 is apparently the optimum.
My new R can go further than my old 7D, but of course it also has its limits. Especially when it comes to very fine details, image noise that can be seen even at ISO 800 is disturbing. In other contexts, e.g. theatre photography, I tolerate noise up to ISO 3200, possibly even more. With insects, I don’t like it. Mostly I want to crop the image a bit, the quality should be optimal. So down to ISO 100.
To be able to work at ISO 100 and f-stop 14, you either need a lot of light or long exposure times. I therefore tried to put the camera on a tripod and to get there with exposure times around 1/4. This has not worked for me. Firstly, by the time my tripod is in the right position my subjects have usually long since disappeared unnerved, and secondly, the beasts move. Even flies that seem to be sitting still often move their hind body. I am not a biologist, but I suspect they are respiratory movements. So I try to get exposure times around 1/200 to 1/250 second. I don’t use the big tripod, I just try to use existing objects as a support or use a monopod.
Unfortunately, even in the blazing full midday sun (more on its qualities later), there is still usually too little light.
Get Me More Light – Flash!
After a short search on the internet, it became clear to me: I would really love to try out a macro flash with two separately controllable halves, be it a ring or small individual flashes, but it is too expensive for me to start with (and I don’t trust the cheap offers). So it’s a case of trying it out and tinkering.
The first idea of simply adjusting the pop-up flash downwards quickly finds its limits. These things are not made for illuminating objects at a short distance in front of the lens. A better way was to use a reflector surface attached to the flash, which diffuses the light downwards. But the technique also has two disadvantages: There is so much weight attached to the flash head that it always bends downwards. In any case, my flashes can be adjusted to different angles via locking positions – but the locking is much too delicate for the reflector. And secondly, the light now always comes from above – it also looks bad.
Next I tried controlling the flash via radio trigger and holding it with the reflector to the side of the camera. My conclusion: I have at least one hand too few. So it doesn’t work either.
So I searched the internet again and thought about solutions. One idea that I might pursue is a flash rail under the camera, on which you then mount two short vertical rails that hold two clip-on flashes pointing forwards, so that their flash tubes come to rest to the right and left of the lens. At the moment I consider this too bulky and wobbly. There are a few similar approaches in the accessories trade, the user comments tend to confirm my concerns.
So I decided to stick with one flash for now. Why would I need two? The answer is quickly found: perhaps because of the shadows.
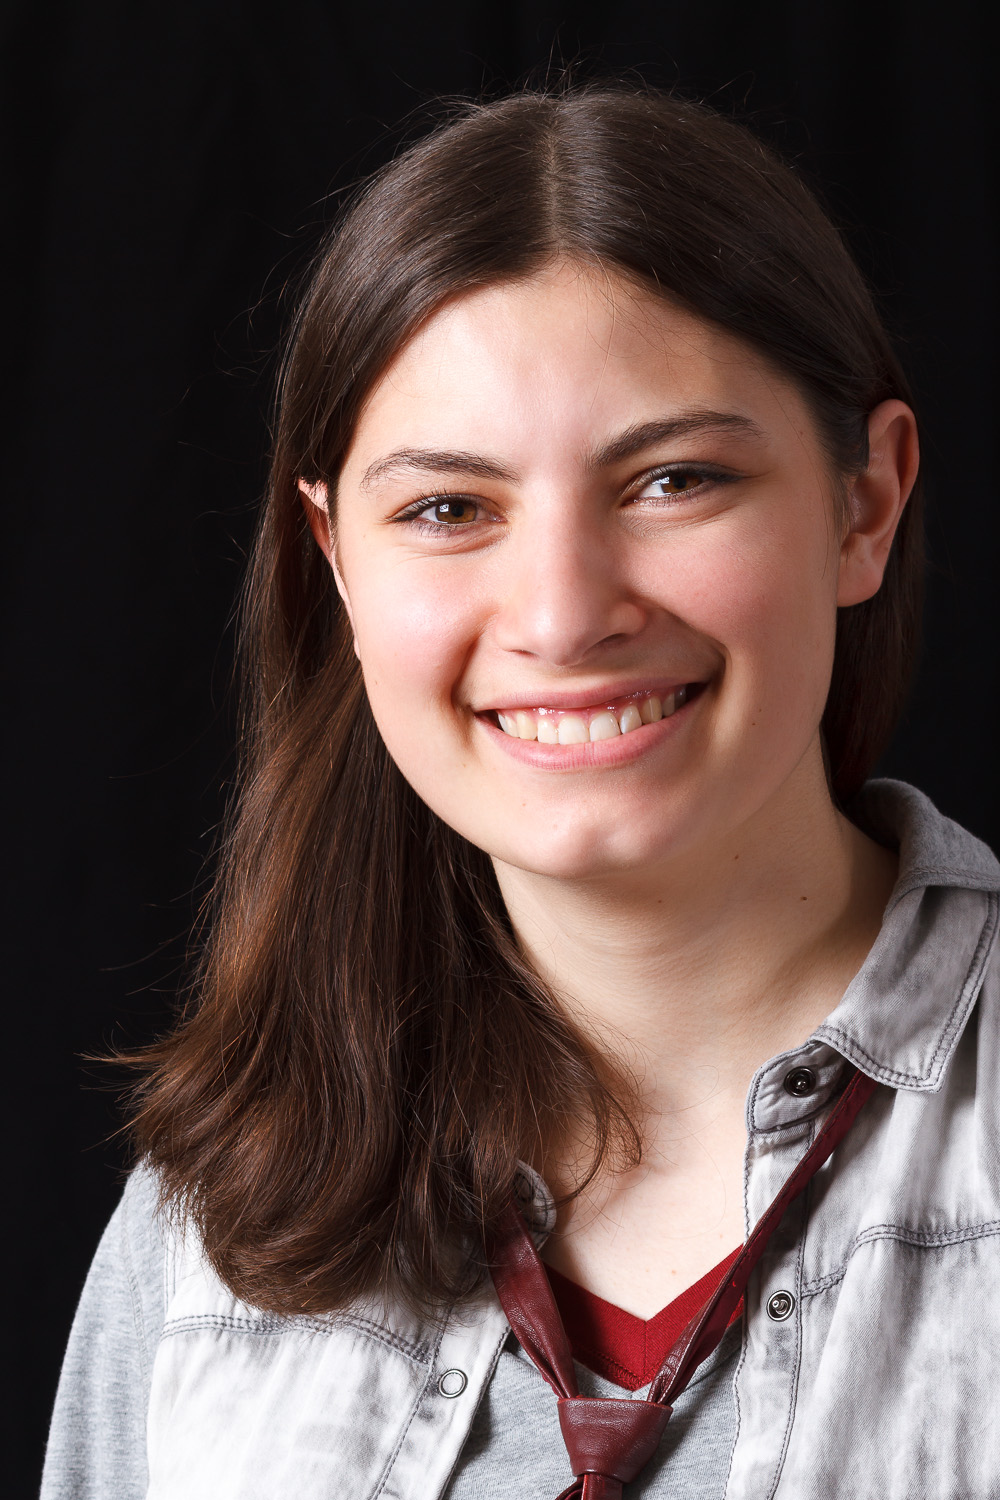
Portraits, Light and Shadow

A pop-up flash is not really a point source of light, but the area from which the light emanates is so small compared to the photographed objects that hard shadows appear behind them. These are usually perceived as unattractive. If you have two light sources, one can illuminate the shadows produced by the other. If the brightness of the two sources can be controlled separately, the illumination can be influenced quite well.
This is also often done in portrait photography in studios, where there is a typical set-up with a model light (key) and a fill light (fill), often the latter is just a reflector. By the way, in order to achieve a three-dimensional impression in a two-dimensional photo, we do need the shadows, we don’t want them completely gone, otherwise the picture looks very flat, just soft and with a little direction. For portraits, it is classically considered beautiful if the light falls more or less as we know it from natural lighting, i.e. diagonally from above and usually a little from the side (I don’t want to go into details here, there are all kinds of lighting variations and exceptions to almost everything).

If you want to get the shadows soft, it is crucial that the light does not only come from one or a few fixed directions. If the light source is a point, the light always comes from exactly one direction, if the light source is a surface, light falls over a certain spatial angle and there is a soft transition between light and shadow.
You can easily observe this outside. The sun is big, but far away, so it appears in a small spatial angle, almost like a point. Everyone knows the hard, clear shadows that sunlight casts. On overcast days, however, the incoming sunlight is scattered by the clouds, and the entire sky appears luminous, contributing to the light and shade. Because the light comes “from all directions”, you see almost no and only very soft shadows. Days with not too dense cloud cover but just not clear skies are ideal for outdoor portraits.
The spatial angle depends on the size of the light source and the distance to the illuminated object. For portraits and studio flashes, I would estimate the ratio between the size of the light source (first of all the naked flash tube) and the object to be in the order of 1:10, the distance typically 1:3. So there are hard shadows and, if you use two sources, just hard shadows that overlap and no longer look quite so dark. The hard edges of the shadows are usually considered unattractive; you eliminate them by making the effectively lit areas larger – with reflectors, umbrellas and softboxes. If you place a round softbox with a diameter of 2 m 1 m in front of an object, the light will not only come straight from the front but also from up to 45° from the right, left, top, bottom and all directions in between. Seen from the object, the angle of beam spread is 90°. The same light source 5 m away gives an opening angle of only 22°, the shadows become harder again.
I have already done portraits quite successfully with only one softbox. I would estimate the opening angle at about 30° – 45°. That should also be feasible for macros. The surface area of the pop-up flash alone, even with the diffuser folded out, would be a bit small, but if I had a small softbox 10-20 cm in diameter and could place it about 20-30 cm away from my subjects, that would be enough.
Then I found a gooseneck to attach to the camera’s flash shoe and a mini softbox in the accessories shop. It looks like this:
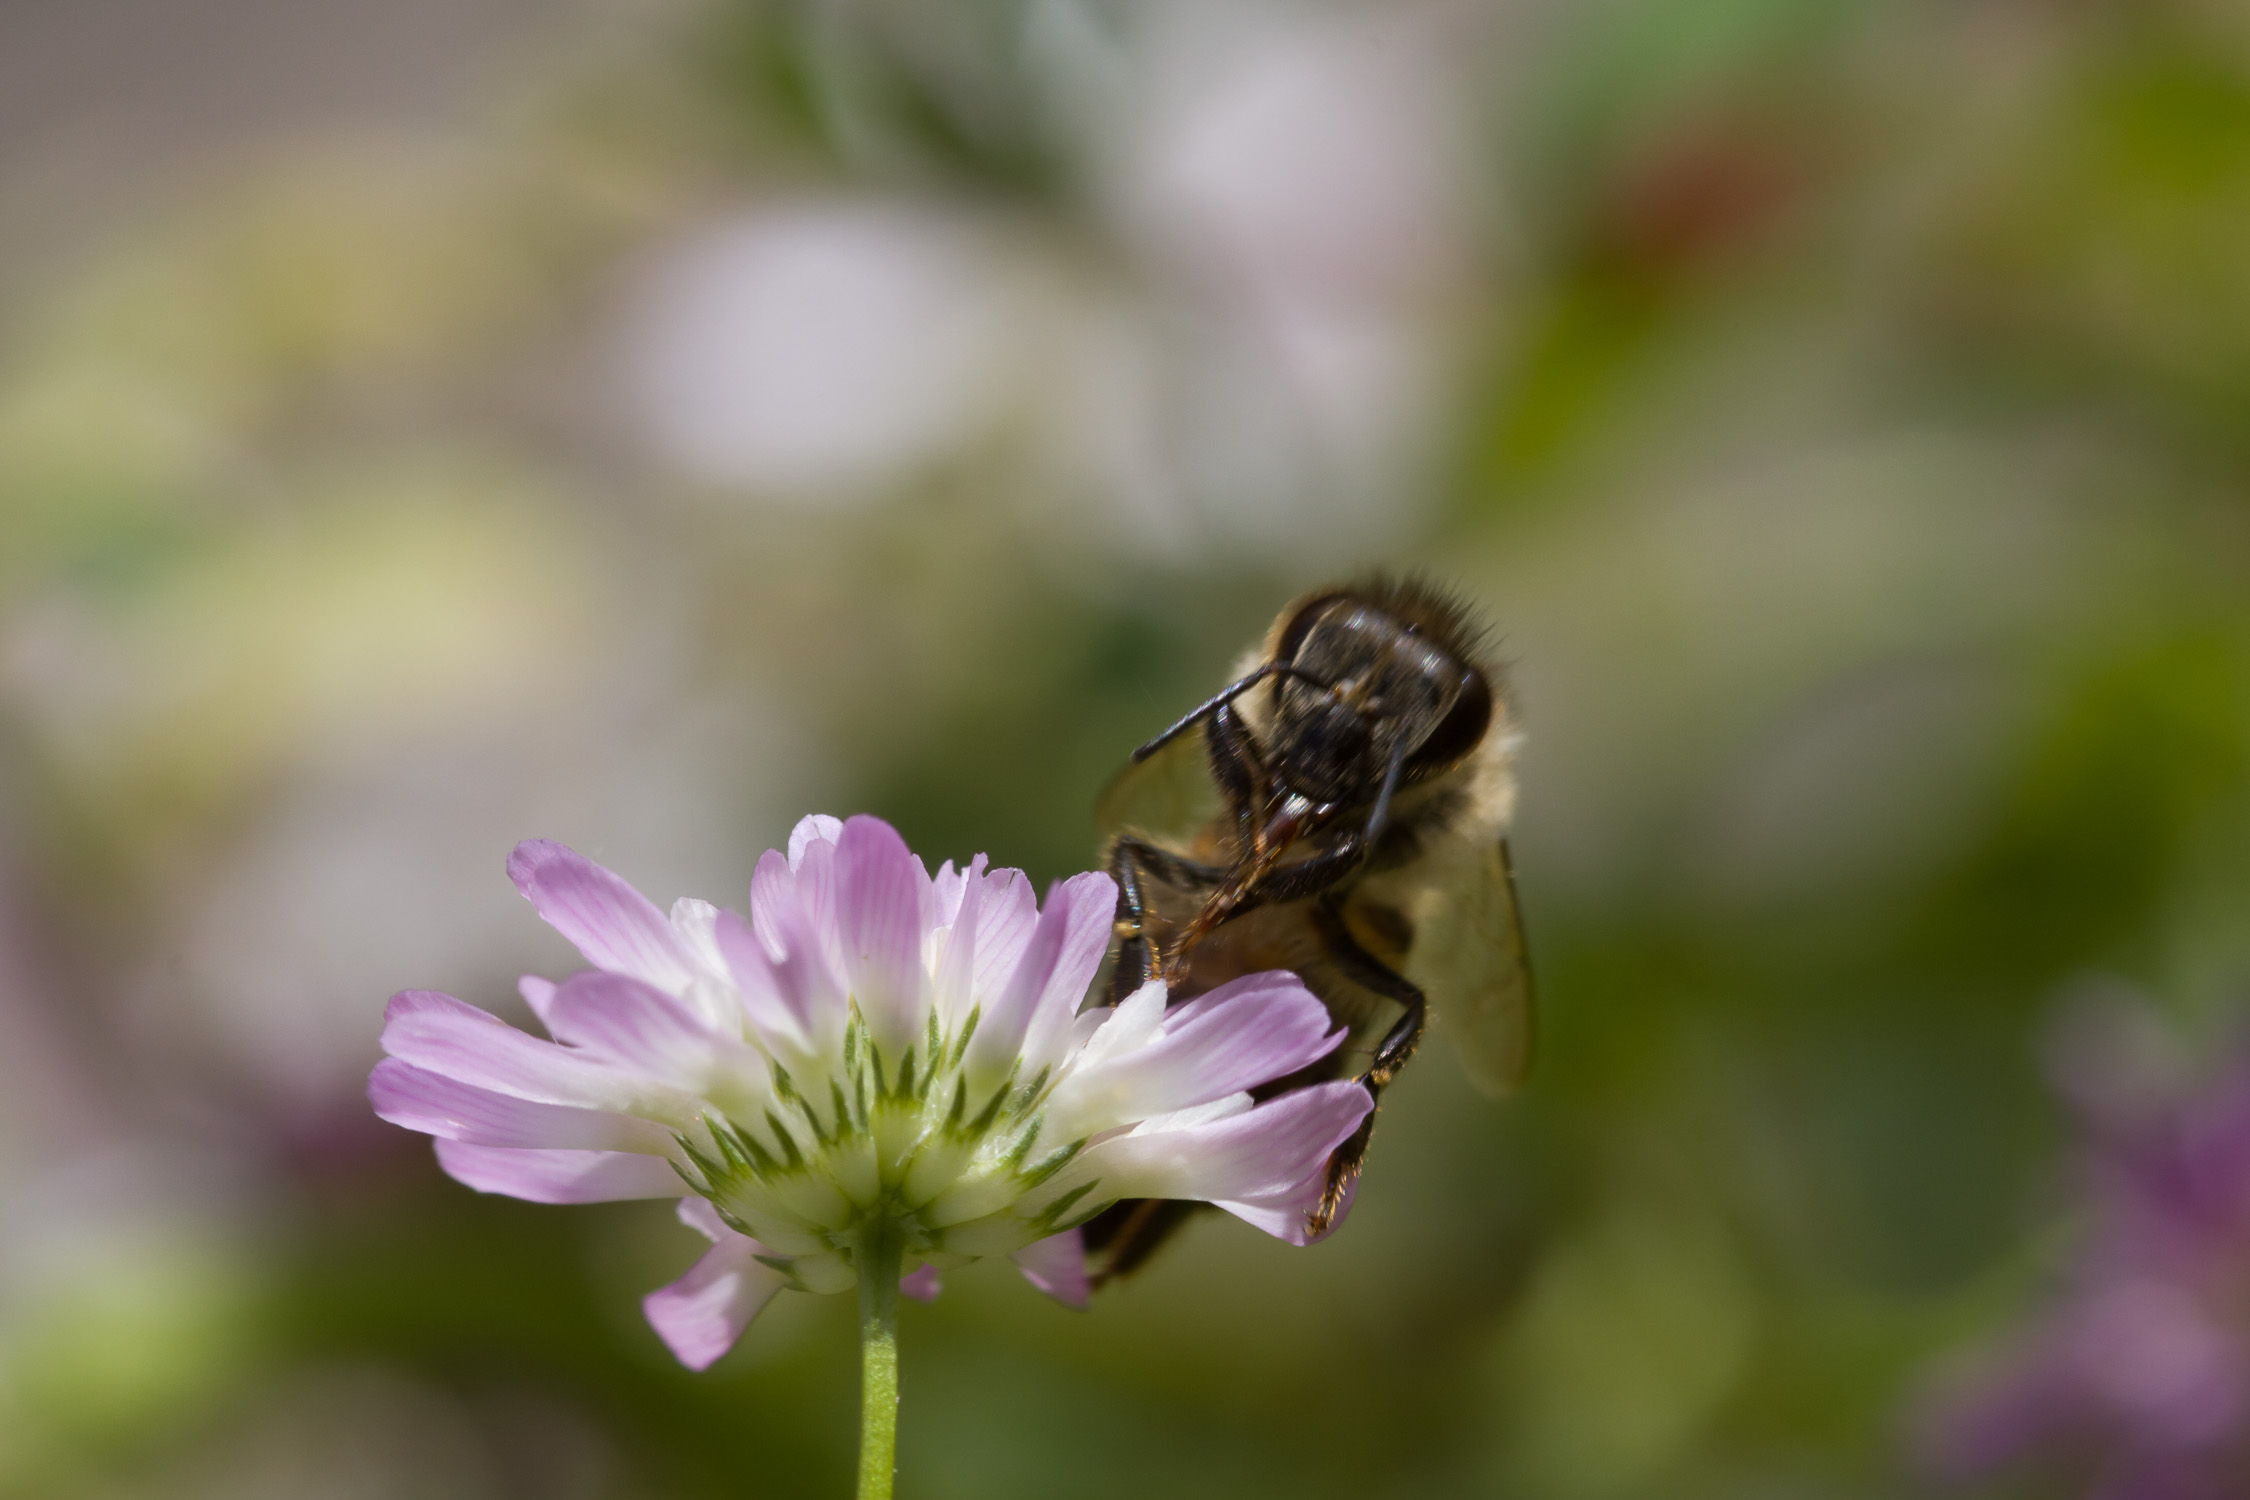
 The construction is a bit unwieldy, but with a little practice it can be controlled with two hands. I am quite satisfied with the results. Only the positioning of the flash needs a bit of trial and error, the light still comes a bit too much from the side.